It’s important to make sure your website speaks the same language as search engines and screen readers, for multiple reasons. There are tons of HTML elements we can use when developing our websites, the <time> tag is one of them!
The <time> HTML element represents a specific period in time. It may also include the datetime attribute to translate dates into a machine-readable format, allowing for better search engine results, as mentioned above.

We can actually do this with our Bricks Builder websites using the power of dymanic data!
So, how does it work?
As an example, when we create a query loop to show a list of our blog posts, we can use the Basic Text element and the { post_date } dynamic data field to render the date of each specific blog post.
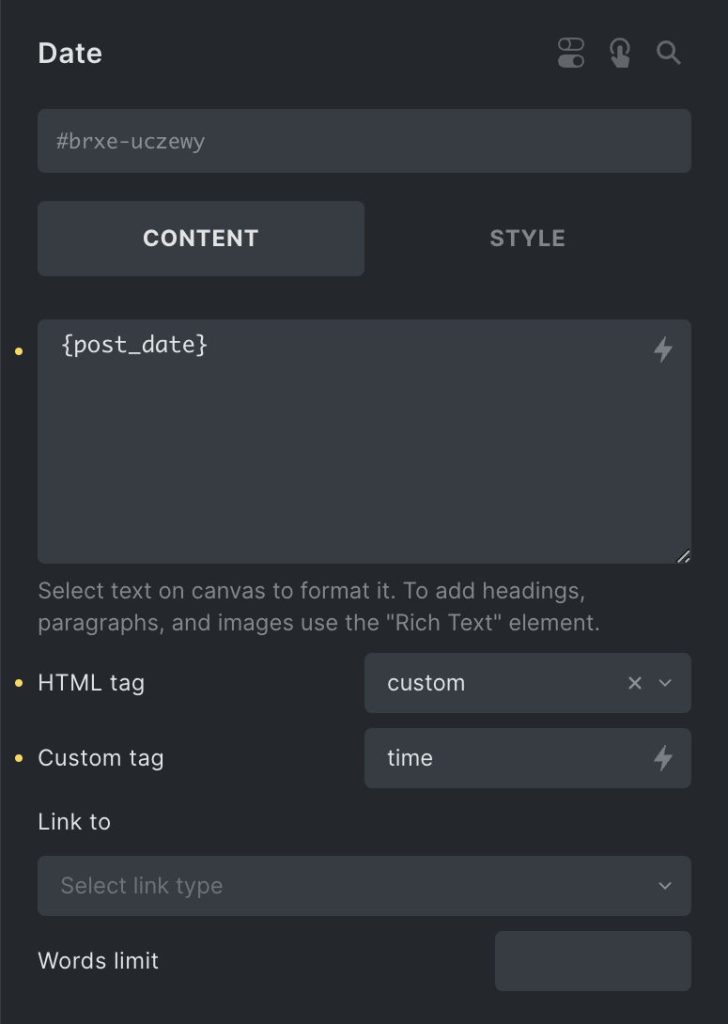
In this case we renamed our Basic Text element ‘Date’, as this makes it easier to locate and understand in the structure panel. We encourage you to do the same (in your own language, of course).
Using the <time> HTML tag
By default the Basic Text element’s HTML tag is a div but, Bricks Builder allows us to change this by clicking the select field. The select dropdown will show a number of popular selections, but for this scenario we need to select ‘custom’. By selecting ‘custom’, the GUI then populates an empty field below so that we can now type our own custom tag, which in this case is ‘time’.
This will now beautifully wrap your blog post dates in a <time> tag, rather than a standard <div> tag. Wicked!
Using the datetime attribute
We can also go a step further and make search engines really love our content. We can do this by adding a datetime attribute to our <time> tag.
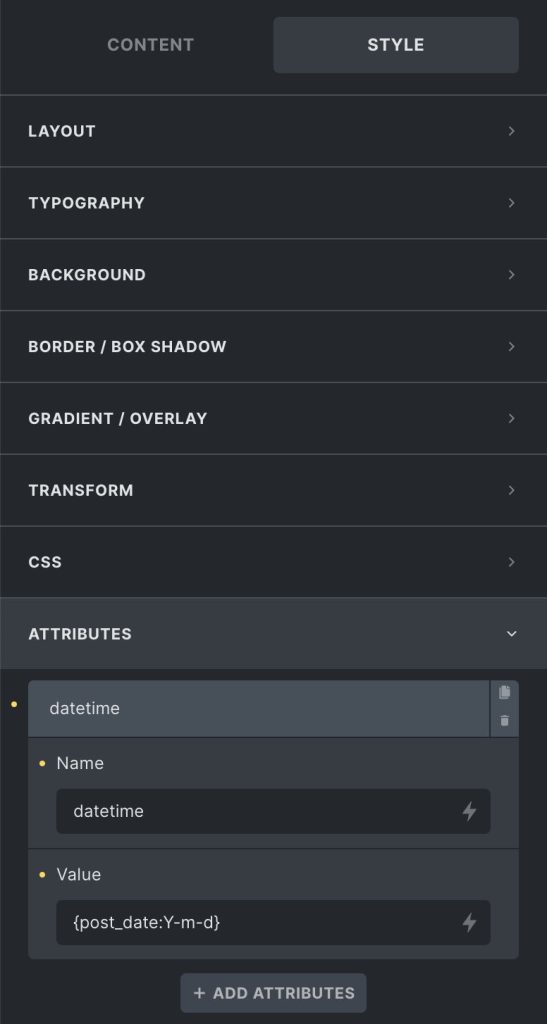
To do this, go to the Style tab of your Basic Text element and scroll right down to the bottom, here you’ll see the ‘Attributes’ settings. To add your datetime attribute just follow the three simple steps below:
- Click ‘+ Add Attributes’.
- In the ‘Name’ field, type ‘datetime’.
- In the ‘Value’ field, type ‘post_date:Y-m-d’ inside your curly braces {}.
Using the same { post_date } tag will produce the same date as the <time> HTML tag (depending on what date format you decide to chose in your WordPress General Settings). We can expand on this to ensure we are using the correct datetime values by adding ‘:Y-m-d’ at the end.
Once you’ve done this, you can now save your page and view your work on the frontend. You will now see within each blog post inside your query loop, that the date will be wrapped in a <time> tag, and it will also have the datetime attribute showing the correct date formate for that specific post.
Now you have consistent & accessible, semantic markup for your dates! 😎